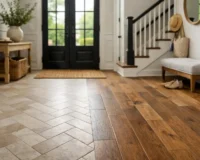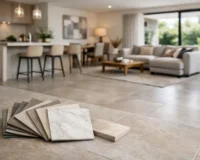
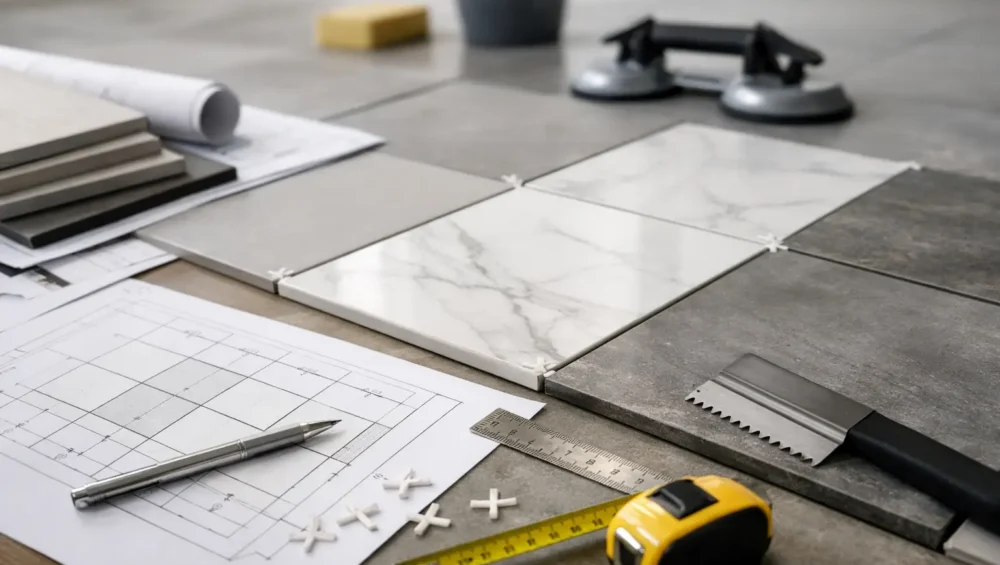
A beautiful tile can lose its impact when the layout feels accidental. Tile layout planning is the step that turns a premium surface into a composed interior: grout lines align with focal points, cuts sit where the eye barely notices them, and pattern feels intentional from the doorway to the furthest wall.
Whether you are specifying marble-look porcelain for a primary bath, encaustic-inspired tile for an entry, or pavers for an outdoor entertaining area, layout deserves attention before the first tile is set. It affects material quantities, installation cost, visual balance, and the final character of the space.
Begin With the Room’s Best View
Stand at the primary entry point and identify what the room is asking you to notice first. In a bathroom, that may be a freestanding tub, vanity, or shower wall. In a kitchen, it is often the island, range, or a long run of cabinetry. This view should guide where full tiles, centered patterns, and clean lines belong.
A layout centered only on the overall room dimensions can look correct on paper yet feel off in reality. Rooms are rarely perfect rectangles, and architectural elements can shift the visual center. A window, niche, door opening, or plumbing wall may matter more than a measurement taken from drywall to drywall.
For floor tile, establish a centerline through the main visual axis, then dry-lay tiles outward. This reveals whether the perimeter will receive balanced cuts. For wall tile, consider the elements that sit within the tiled field. Centering a vertical stack on a vanity, mirror, or shower fixture often produces a more elegant result than centering it on an entire wall.
Choose Tile Size With the Layout in Mind
Large-format tile creates a calm, expansive finish with fewer grout lines, making it a strong choice for contemporary bathrooms, open-plan living areas, and commercial spaces. Its trade-off is planning. Large tiles make uneven walls, out-of-square rooms, and poor substrate preparation more visible. They also require thoughtful cut placement because a narrow strip at the edge of a large tile can look disproportionately awkward.
Smaller formats offer more flexibility around curves, drains, niches, and compact rooms. Mosaic can bring texture and detail to a shower floor or backsplash, while subway and square formats can create rhythm through their orientation and grout color. More grout joints do mean more visual activity and, depending on the material and finish, more maintenance.
The scale of the tile should relate to the space rather than follow a fixed rule. A large porcelain slab can make a modest bathroom feel refined and generous, but only when the slab layout is resolved around corners, openings, and fittings. Likewise, a small patterned tile can energize a large foyer, provided the repeat does not become visually overwhelming.
Check the True Tile Dimensions
A tile described as 12 by 24 inches may have a nominal size rather than an exact finished measurement. Rectified tiles have more precise edges and can often accommodate narrower grout joints, while pressed-edge tiles typically need a slightly wider joint to allow for natural variation.
Before finalizing the plan, confirm the actual tile dimensions, recommended grout joint, and any variation between pieces. These details determine how patterns land at boundaries. They are particularly important for stacked layouts, herringbone, checkerboard, and tile that must align with cabinetry or adjacent flooring.
Plan Grout Lines as Part of the Design
Grout is not simply the space between tiles. It is a visible design line that can either soften a surface or define it.
A grout color close to the tile creates a quieter, more continuous effect. This approach suits stone-look porcelain, terrazzo, and large-format neutral tiles where the surface itself should take center stage. Contrasting grout makes each tile shape more pronounced, lending graphic character to subway tile, penny rounds, and geometric patterns.
Joint width also changes the result. Narrow joints can feel sleek and architectural, while wider joints give handmade-look ceramic, terracotta, and rustic stone a more relaxed presence. Material recommendations should always lead the decision. Natural stone, handmade tiles, and tiles with dimensional variation need room to breathe; forcing a very tight joint can make installation difficult and emphasize inconsistency rather than charm.
Carry grout lines thoughtfully across connected surfaces. Aligning wall and floor joints can create an ordered, tailored effect in a shower or powder room. However, alignment is not mandatory in every scheme. A mosaic shower floor may need to follow drain geometry, while a larger wall tile remains centered on the fixtures. The most successful plan prioritizes what will be seen and experienced, not a rigid rule.
Make Cut Tiles Look Intentional
The goal is not to eliminate cuts. Every real project has them. The goal is to place them where they feel balanced and unobtrusive.
Avoid beginning at one wall with a full tile if doing so leaves a sliver at the opposite edge. Instead, shift the layout so both sides receive similar-sized cuts. As a general visual principle, perimeter cuts should ideally be more than half a tile where possible, especially in prominent areas. This is not always achievable around existing conditions, but it is a useful benchmark.
Keep full tiles in high-visibility zones: at a doorway, beneath a focal-point wall, across the front of a shower, or along the most visible edge of an island. Place smaller cuts behind a toilet, beneath cabinetry, inside a closet, or on the least visible wall. In a shower, consider where the eye lands when the glass door is closed. That wall deserves the cleanest composition.
For patterned tile, map the repeat before ordering. A pattern that appears balanced in the middle may create abrupt fragments along the perimeter. A border, feature strip, or intentionally framed field can solve this, but it needs to be designed from the start rather than improvised on installation day.
Decide on Direction and Pattern Early
Tile direction changes how a room reads. A rectangular floor tile laid lengthwise can emphasize the long dimension of a room. Turned across the width, it can make a narrow space feel broader. In a hallway, running tiles with the direction of travel typically feels natural and elongates the perspective.
Straight stack layouts are crisp and contemporary, especially with rectified porcelain and minimalist interiors. A running bond introduces movement and is more forgiving of slight variation, though it should be used carefully with large-format tile. Many manufacturers limit the offset for longer tiles because an aggressive 50 percent offset can highlight natural bowing in the center of the tile.
Herringbone, chevron, and basketweave offer distinct visual energy. They can transform a backsplash, fireplace surround, entry, or feature wall, but they create more cuts and require additional labor. This makes them best suited to areas where the pattern will be appreciated rather than hidden behind furniture or fixtures.
Plan for Transitions, Drains, and Movement
A tile layout does not stop at the edge of one room. Consider how it meets timber, carpet, polished concrete, or another tile selection. A clean threshold can be aligned with a doorway, centered under a closed door, or carried continuously between rooms when the same material is used. The right choice depends on sightlines, floor heights, and whether you want spaces to feel connected or distinct.
Wet areas require another layer of precision. Shower floor tile must fall correctly toward the drain, which is why smaller mosaics are often preferred. With a linear drain, larger formats may be possible, but slope direction and drain placement should be coordinated before the layout is locked in.
Expansion and movement joints also matter, particularly across large areas, exterior installations, and spaces exposed to temperature changes. They are technical requirements, not decorative afterthoughts, and should be incorporated discreetly into the design with guidance from an experienced installer.
Order Samples and Create a Dry Layout
A screen cannot show every quality that affects a layout. Tile samples reveal undertone, texture, edge detail, sheen, and variation under the lighting of your own home or project. Place samples next to paint, cabinetry, stone, tapware, and timber finishes. View them in morning light, evening light, and with the room’s planned artificial lighting.
For a major installation, create a dry layout with actual tiles before work begins. Even a small mockup can confirm the grout color, pattern direction, and visual scale. This is particularly valuable for veined porcelain, natural stone, and handmade tile, where selecting and distributing variation is part of achieving a considered finish.
Bring the tile plan, room measurements, and samples together before placing the full order. A well-resolved layout gives your installer a clear design intent and gives you confidence that the surface will feel as exceptional in place as it did when you first selected it.