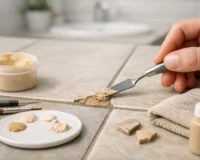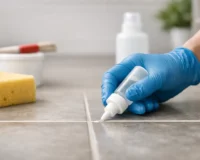
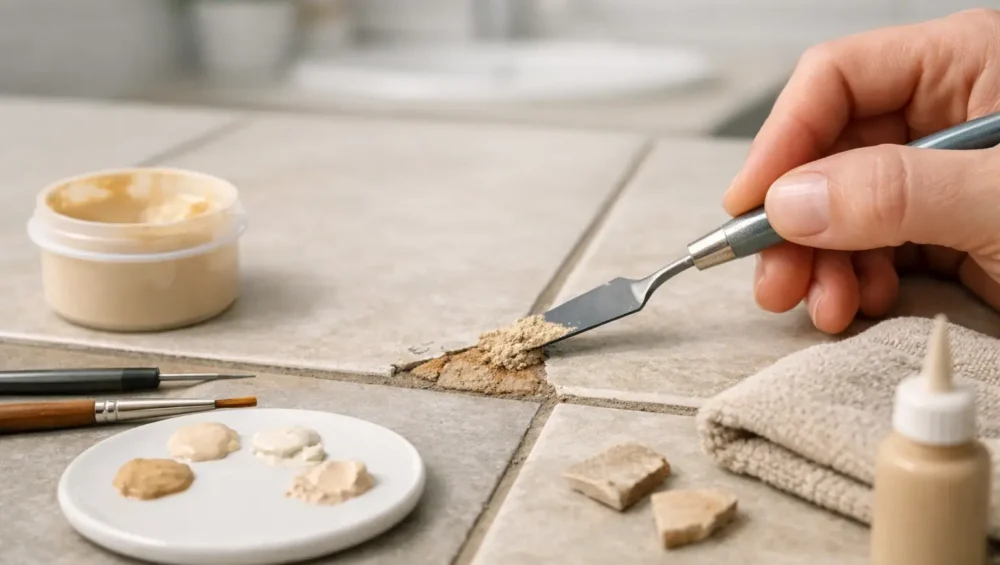
A chip can interrupt an otherwise beautifully resolved room. On a porcelain kitchen floor, a ceramic bathroom wall, or a statement tile surround, even a small missing fragment catches light differently and draws the eye. Knowing how to repair chipped tiles lets you restore the surface with a considered finish, often without the disruption or expense of replacing the entire tile.
The right approach depends on the tile material, the size and location of the damage, and whether the tile is still securely bonded. A modest chip on a glazed wall tile can usually be repaired convincingly. A deep break on a heavily used floor, however, may call for replacement to protect the surface and preserve its long-term elegance.
First, decide whether a repair is the right choice
A cosmetic repair works best when the chip is shallow, the tile is firmly attached, and there are no cracks extending across its face. Small edge chips, pinholes, and flakes in the glaze are ideal candidates for a color-matched epoxy or tile repair kit.
Replacement is often the more refined solution when damage reaches deep into the tile body, the tile sounds hollow or moves under pressure, or a crack runs from the chip toward a grout joint. In wet areas, particularly showers and pool surrounds, damaged tiles also deserve closer inspection. A surface repair may improve appearance, but it cannot correct moisture issues behind the installation.
Natural stone requires extra care. Marble, travertine, limestone, and terrazzo can be filled and polished, but their veining, movement, and honed or textured finishes make a perfect invisible repair less predictable. For a distinctive premium stone, retaining spare tiles from the original installation is always worthwhile.
What you need to repair a chipped tile
For most small repairs, use a two-part epoxy formulated for ceramic, porcelain, or stone, along with a fine artist’s brush or small applicator. You will also need isopropyl alcohol or a suitable surface cleaner, a utility blade, fine-grit sandpaper, a plastic scraper, painter’s tape, and color pigments or touch-up paint if the kit is not pre-tinted.
Choose products carefully. Standard household filler is not designed for a hard, nonporous tile surface and can shrink, discolor, or detach. A purpose-made epoxy repair compound adheres more reliably and can be built up in thin layers. For floor tiles, select a product rated for foot traffic and allow the full recommended cure time before walking on it.
If the chip sits beside a grout joint, protect the grout with painter’s tape. This keeps the repair crisp and prevents filler from changing the clean geometry of the tiled layout.
How to repair chipped tiles step by step
Clean and prepare the damaged area
Start by removing dirt, soap residue, grease, and loose fragments. Wipe the chip with isopropyl alcohol and let it dry completely. Any contamination left in the cavity can weaken adhesion, while trapped moisture can compromise the repair beneath the surface.
Use a utility blade gently to remove fragile edges or loose glaze. Do not enlarge the chip unnecessarily. The goal is a stable, clean edge that gives the filler a sound surface to bond to.
Match the tile’s color before mixing filler
Color matching is what separates an acceptable repair from one that disappears into the overall design. Look at the tile in natural daylight as well as the room’s installed lighting. A white tile may carry warm cream, cool gray, or subtle pink undertones, while a stone-look porcelain may contain several layers of color and fine mineral-style variation.
Test the color on a small piece of card or an inconspicuous area before applying it to the tile. Mix pigments gradually. It is easier to darken a pale mix than to correct one that has become too dark. For patterned, encaustic-style, or highly variegated tiles, aim first to match the base color. Recreating every detail inside a tiny chip can make the repair more noticeable rather than less.
Apply epoxy in thin, controlled layers
Mix only the amount of epoxy you can use within its working time. Press it into the chipped area with a small applicator, ensuring there are no air pockets. Slightly overfill the chip rather than leaving it recessed, because most fillers can be leveled after they begin to set.
For a deeper chip, build the repair in layers as directed by the manufacturer. Thick applications may cure unevenly or sag before they harden. Keep the repair contained within the damaged area and remove excess promptly with a plastic scraper or a cloth lightly dampened with the recommended solvent.
On a vertical wall tile, painter’s tape beneath the chip can provide a temporary edge and prevent filler from slipping. This small detail is especially helpful along the lower edge of a tile or around a niche, where a clean line matters.
Shape, sand, and refine the surface
Once the epoxy has cured enough to be worked, level it carefully. A sharp blade held nearly flat can trim proud material from a glossy tile. For matte, honed, or textured finishes, use fine-grit sandpaper sparingly and only after confirming that sanding will not create a visibly different sheen.
This is where finish matters as much as color. Glossy ceramic and porcelain tiles often benefit from a compatible clear topcoat to restore light reflection. A polished stone repair may need professional honing and polishing to blend correctly. Avoid adding gloss to a matte porcelain tile, as the repaired spot may become more conspicuous than the original chip.
Let the repair cure fully
A repair that looks finished is not necessarily ready for use. Follow the product’s cure schedule closely, especially on floors, countertops, shower walls, and other high-contact surfaces. Keep water, cleaners, and foot traffic away until the compound has fully hardened.
Rushing this stage can leave marks in the repair, reduce its bond strength, or cause the filler to pull out at the edges. A little patience protects both the repair and the larger investment in your surface.
Material-specific considerations
Porcelain is dense and highly durable, but its color may be printed only at the surface. A chip can reveal a lighter or darker body beneath, so precise color matching is particularly valuable. Ceramic wall tile is generally easier to repair because the damage is often confined to the glaze.
Through-body porcelain, where color runs through the tile, can make a small chip less visually dramatic. Still, a filled repair prevents dirt from settling into the damaged area. With glazed decorative tiles, mosaics, and patterned finishes, work slowly and prioritize the visible edge line, which is what the eye notices first.
For natural stone, do not use acidic cleaners before or after repair. Acid can etch polished marble and limestone, leaving a dull mark around the chip. Use a stone-safe cleaner and consider a specialist for a prominent chip in a luxury stone installation, particularly on a vanity, fireplace, or large-format slab.
When replacing one tile is worth the effort
Repair is not always the best design decision. If a chipped floor tile sits in a focal area, such as an entry, open-plan kitchen, or central bathroom path, replacement may deliver the cleaner result. The same is true when a tile has multiple chips, significant cracking, or damaged edges that collect debris.
Replacing a tile is easiest when you have leftover stock from the project. Tile batches can vary slightly in shade, texture, and calibration, so a tile ordered years later may not blend perfectly. Keeping a small reserve is a practical habit for any premium installation, particularly with distinctive stone, handmade-look ceramics, or patterned collections.
If no spare tile is available, a skilled installer can sometimes remove a matching tile from a concealed location and place the replacement there. It is more involved, but it can preserve visual continuity in a highly considered space.
Prevent future chips without compromising style
Chips commonly happen when heavy cookware, tools, furniture, or hard objects strike an exposed tile edge. Use felt pads beneath furniture, take care when moving appliances, and choose protective mats in high-impact work zones. In bathrooms, avoid dropping heavy glass containers or metal accessories onto tiled floors and shower ledges.
Material selection also plays a role. Porcelain is an excellent choice for busy family kitchens, entrances, laundry rooms, and commercial settings because it offers exceptional resistance to wear. For a renovation where durability and visual distinction must work together, selecting a tile suited to the room’s demands is the most enduring form of protection.
A carefully repaired chip can preserve the character of a surface for years. When the damage is more than cosmetic, treating replacement as an opportunity to restore the tile’s original finish and performance will keep the entire space feeling intentional.