A beautiful tile can lose its impact when the layout feels accidental. A narrow strip at the entry, an off-center feature wall, or a grout joint that misses the vanity by an inch can interrupt an otherwise elevated design. Knowing how to plan tile layouts before installation gives your chosen surface the proportion, symmetry, and presence it deserves.
For a premium result, tile planning is not simply about calculating how many boxes to order. It is the process of deciding where the eye should land, how cuts will fall, and how the layout will relate to architectural features, fixtures, and the way the room is used. Whether you are selecting large-format porcelain for an open living area, natural stone for a bathroom, or patterned tile for a statement floor, the layout is where the design becomes intentional.
Start With the Room, Not the Tile
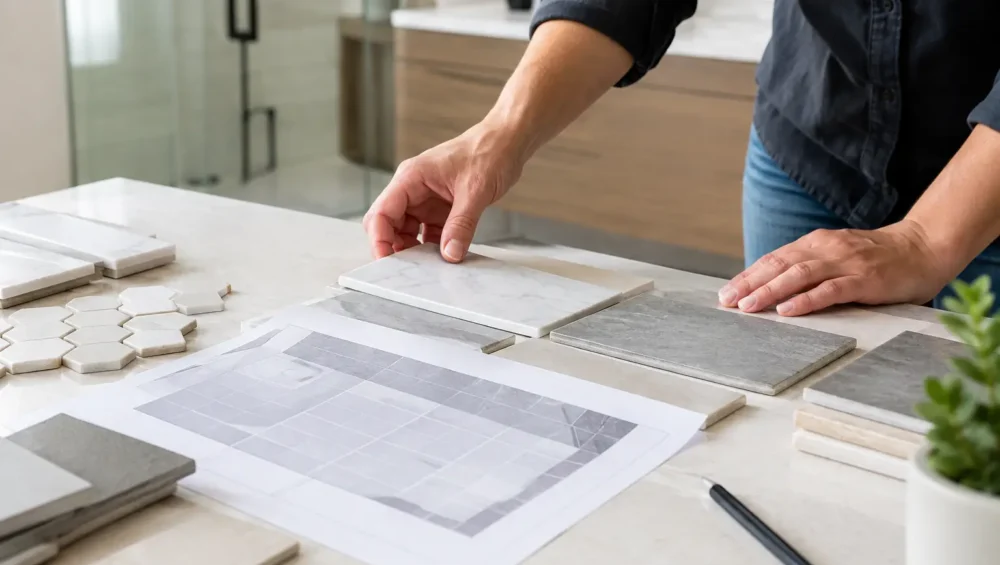
Measure the room accurately, including alcoves, door openings, window returns, floor waste locations, islands, hearths, and fixed cabinetry. Record the widest and longest dimensions, then sketch the space to scale. This does not need to be an architectural drawing, but it should show the features that will affect sightlines and tile cuts.
Next, identify the room’s visual focal point. In a bathroom, it may be the vanity wall, freestanding tub, or shower entrance. In a kitchen, it could be the range, island, or the centerline of a backsplash. In a living space, look toward the main entry and the longest uninterrupted view. The focal point should guide the layout rather than being treated as an afterthought.
This is particularly valuable in rooms that are not perfectly square. Older homes, additions, and even new construction can have walls that vary slightly. If you begin from one wall without checking the room, your grout lines may appear to drift as they move across the floor. Establishing a deliberate reference line gives the installation a composed, architectural appearance.
How to Plan Tile Layouts Around a Centerline
For many floor and wall installations, begin by finding the center of the focal wall or the visual center of the room. Mark a straight baseline, then dry-lay tiles from that point in both directions. A dry layout means placing tiles without adhesive to see exactly where full pieces and cuts will land.
The goal is usually balanced cuts at opposing edges. For example, if a centered layout leaves a 1-inch cut along one wall and a 9-inch cut along the other, shift the starting point. A layout with two 5-inch cuts will look far more considered, even though neither edge has a full tile.
Symmetry is not always the right answer. In a shower wall, centering tile on the valve or niche can be more important than matching cuts at the outer edges. For a backsplash, it may make sense to center a decorative pattern behind the range, then allow the cuts to resolve near cabinets or corners. The best layout protects the most visible areas and makes the least prominent cuts disappear naturally.
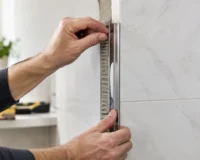
Use a level and straightedge when setting out wall tile, and a chalk line for larger floors. Never assume a wall, countertop, or ceiling is level enough to serve as your guide. Your layout lines should be true, even if the room itself needs small perimeter adjustments to accommodate them.
Choose Tile Size With Proportion in Mind
Tile dimensions influence both the visual scale of a room and the complexity of the installation. Large-format porcelain can create a calm, expansive surface with fewer grout lines, making it a compelling choice for contemporary bathrooms, living areas, and commercial spaces. However, large tiles demand a flatter substrate and more careful planning around drains, corners, and narrow returns.
Smaller-format tiles offer flexibility where the architecture is more detailed. Mosaics are well suited to shower floors because they follow slopes toward the drain and provide more grout joints for traction. Subway tile, finger mosaics, and handmade-look ceramics can bring rhythm and texture to splashbacks and feature walls, where their scale is appreciated up close.
Consider the relationship between the tile and the room’s proportions. A small powder room does not automatically require small tile. Larger tiles can reduce visual interruption and make a compact space feel more composed. Conversely, a large patterned tile in a narrow room may need a carefully centered layout to avoid losing the motif in perimeter cuts.
Before committing, order samples and place them in the space at different times of day. Light can shift the character of stone veining, glaze variation, and textured surfaces dramatically. Samples also let you test tile scale against cabinetry, paint, fixtures, and adjacent flooring rather than making decisions from a screen alone.
Plan Grout Joints as Part of the Design
Grout is not a finishing detail. Its width and color shape the entire layout. A fine grout joint can create a quieter, more continuous field, especially with rectified porcelain or large-format tiles. A wider joint may suit handmade ceramics, terracotta, or tiles with expressive edges, reinforcing their crafted character.
Choose grout color according to the effect you want. A close color match allows the tile surface to take center stage. A contrasting grout highlights geometry and pattern, which can be striking with subway, herringbone, or mosaic layouts. Neither approach is universally better. A high-contrast grout may feel graphic and tailored, while a tonal grout often reads as softer and more luxurious.
Remember that grout joints affect your overall measurements. Even a small joint repeated across a wide floor changes where cuts land at the walls. Include the intended joint width in every dry layout calculation. Use tile spacers or leveling clips during your mock-up so the result reflects the finished installation, not an idealized version with tiles pushed tightly together.
Select a Pattern That Supports the Space
The tile pattern should complement the room’s architecture and intended mood. A straight lay is timeless and works beautifully when the tile itself has strong veining, texture, or variation. Running bond introduces movement and is often suited to rectangular wall tile. Herringbone feels tailored and dynamic, though it produces more cuts and requires careful alignment to avoid a crowded result.
For stone-look porcelain planks, staggered layouts should be planned with restraint. A 50 percent offset can emphasize natural bowing in longer tiles, creating uneven lippage at the joints. Many manufacturers recommend a smaller offset, such as one-third, for a smoother installation. Always follow the tile manufacturer’s installation guidance, particularly for large-format products.
Patterned and encaustic-style tiles deserve special attention. Lay out several tiles to understand how the motif repeats, then decide where a complete pattern should appear. In a foyer or powder room, centering the design within the most visible floor area can create a memorable focal point. At the perimeter, plan cuts so the pattern feels framed rather than abruptly interrupted.
Account for Doors, Drains, and Transitions
The most refined layouts anticipate the practical details. At doorways, consider what will be seen when the door is open and how the tile meets the flooring in the next room. Aligning grout joints across connected spaces can create continuity, but it is not always possible or desirable when materials change. A clean transition placed under a closed door often provides the most discreet solution.
In wet areas, plan falls and drainage before selecting the final tile format. Shower floors need sufficient slope toward the drain, and the drain location can dictate whether a mosaic, cut tile, or linear-drain layout is most appropriate. A large-format tile may be ideal for shower walls but impractical on a sloped shower floor.
Also consider movement joints, especially across large areas, exterior spaces, and installations exposed to temperature changes. These functional details allow the assembly to move and help protect the finish over time. They should be planned with the installer, not concealed in a last-minute decision.
Calculate Quantity and Allow for Waste
Once the layout is set, calculate tile quantity from the actual plan rather than room area alone. Add an allowance for cuts, breakage, pattern matching, and future repairs. A simple straight layout may require 10 percent extra, while diagonal, herringbone, or highly patterned layouts often need 15 percent or more. Natural stone and tiles with significant variation may also warrant additional selection allowance.
Keep a few spare tiles after installation, ideally from the same production batch. This is a small decision that can make a future repair straightforward, particularly if a collection changes or is discontinued.
A thoughtfully planned layout lets premium tile do what it was chosen to do: transform a room with confidence and lasting visual appeal. Bring your measurements, samples, and inspiration together before installation begins, then work with a qualified tile professional to turn the plan into a finish that feels effortless from every angle.