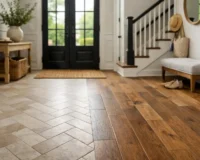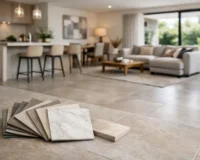
A beautifully tiled room is defined as much by its grout as by the tile itself. Knowing how to seal grout lines helps preserve the crisp, considered finish of a bathroom, kitchen, laundry, entryway, or tiled feature wall – especially where moisture, cooking splashes, and daily traffic can dull the details over time.
Grout sealer is a small maintenance step with a significant visual return. It slows the absorption of water, oils, soap residue, and dirt, making grout easier to clean and helping the tile installation retain its polished appearance. The key is choosing the correct product, allowing proper cure time, and applying it with care rather than treating every grout line the same.
First, Know Whether Your Grout Needs Sealing
Not all grout requires a sealer. Traditional cement-based grout is porous and is the most common type that benefits from sealing. It is frequently used with ceramic, porcelain, natural stone, mosaics, and many decorative wall and floor tile installations. Without protection, it can absorb moisture and staining agents, particularly in a busy kitchen or shower.
Epoxy grout is different. Its dense, resin-based composition is designed to resist staining and moisture, so it generally does not need to be sealed. Some newer premixed or high-performance grouts also offer built-in stain resistance. Always check the grout manufacturer’s guidance before applying a product, since adding sealer where it is not required can leave a residue or interfere with the intended finish.
It is also worth separating grout care from tile care. Glazed porcelain and ceramic tiles are nonporous and do not normally need sealing. Natural stone, unglazed terracotta, encaustic tile, and some cement-based surfaces may need their own compatible penetrating sealer. This is where the installation specification matters: a sealer suitable for grout is not automatically suitable for every surrounding surface.
How to Seal Grout Lines: The Right Preparation
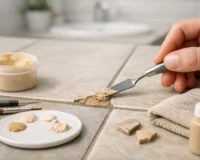
Sealer cannot compensate for grout that is damp, dusty, or already stained. Preparation sets the standard for the finished result, particularly on pale grout or premium tile designs where every joint is visible.
For a new installation, let the grout cure for the period specified by its manufacturer. Many cement grouts need at least 48 to 72 hours, while others require longer. Sealing too early can trap moisture in the grout and reduce the sealer’s effectiveness. In wet areas, patience at this stage is far more valuable than rushing to use the room.
For existing tile, clean the grout thoroughly and allow it to dry completely. Use a grout-safe cleaner and a nylon brush, working gently enough to avoid damaging the grout joint or scratching delicate tile. Avoid oily soaps, waxes, and harsh acidic cleaners. Acid can weaken cementitious grout and may etch natural stone, polished marble, terrazzo, or other sensitive finishes.
Before you start, gather a penetrating grout sealer, an applicator bottle or narrow brush, clean microfiber cloths, gloves, and a small amount of water for testing. Ensure the room is well ventilated and read the product label closely. Drying time, coat requirements, and cleanup instructions vary between sealers.
Choose a Penetrating Sealer, Not a Surface Coating
For most residential tile installations, a penetrating or impregnating sealer is the preferred choice. It absorbs into cement-based grout to create a protective barrier below the surface, rather than forming a visible film on top. This preserves the grout’s natural texture and is less likely to peel, yellow, or create an uneven sheen.
Water-based penetrating sealers are often low-odor and practical for indoor use. Solvent-based options can offer strong penetration in some situations, but they may have a more noticeable odor and require additional ventilation. The right choice depends on the grout type, tile material, room conditions, and the manufacturer’s recommendations.
Be cautious with topical sealers that leave a glossy finish. They may suit a specific decorative effect, but they can change the appearance of matte grout and create maintenance issues on floors. A surface coating can also make future touch-ups more difficult. For a refined, natural-looking result, invisible protection is usually the better option.
Apply Sealer With Precision
Start in a discreet corner or on leftover tile and grout, if available. A test area confirms that the sealer does not alter the color or finish of the grout or adjacent tile. This is particularly valuable with natural stone mosaics, textured porcelain, handmade-look ceramic, and patterned surfaces where excess product can settle into texture.
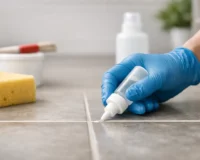
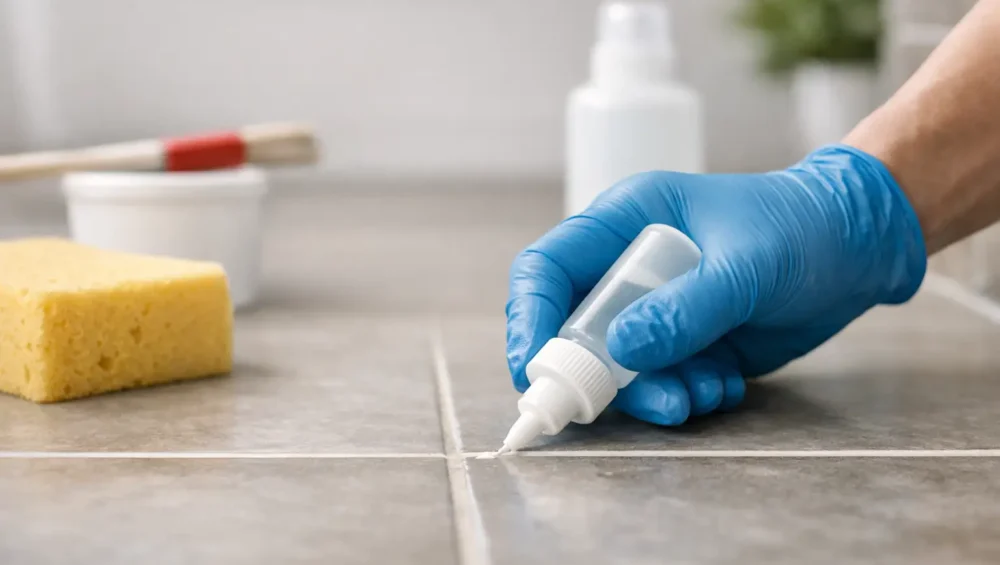
Apply the sealer directly along the grout lines using a roller-wheel applicator, precision bottle, or small brush. Work in manageable sections so you can control the product and wipe away any excess before it dries. The goal is to saturate the grout, not flood the tile surface.
Allow the sealer to dwell for the time stated on the label, often several minutes. Then wipe the tile faces thoroughly with a clean microfiber cloth. Do not leave pooled sealer on the tile, especially on textured, matte, or natural surfaces. Dried residue can appear as haze and may require specialized removal.
Some grout will accept a second coat, particularly in shower floors, kitchen backsplashes behind cooktops, mudrooms, or heavily used entryways. Apply the second coat within the product’s recommended window. If the first application is still wet and the grout no longer absorbs more product, additional sealer may not be necessary.
After the final wipe-down, keep the area dry and avoid normal use until the sealer has cured. While a surface may feel dry within a few hours, full protection can take longer. Follow the manufacturer’s cure time before exposing a shower to water or a kitchen floor to heavy cleaning.
Test the Protection Before You Rely on It
Once the sealer has fully cured, place a few drops of water on a grout joint. If the water beads on the surface or remains visibly pooled for several minutes, the sealer is doing its job. If it quickly darkens the grout and absorbs, the grout may need another coat or the original application may have worn away.
This simple water test is more reliable than sealing on a fixed calendar. Sealers wear at different rates depending on cleaning routines, foot traffic, ventilation, and exposure to soap, food oils, and hard water. A bathroom floor that receives light use may hold protection longer than a shower floor or a kitchen backsplash beside a range.
Keep Sealed Grout Looking Its Best
Sealer reduces staining, but it does not make grout maintenance-free. Clean tiled surfaces regularly with a pH-neutral cleaner, rinse away product residue, and dry areas that receive standing water. In showers, a quick squeegee after use can reduce soap buildup and help preserve both grout and tile.
Avoid bleach-heavy cleaners as a routine solution. They can fade colored grout, weaken cementitious joints over time, and create unnecessary risk around natural stone. Abrasive powders and stiff wire brushes should also stay out of the cleaning cupboard. Gentle, consistent care is better for the surface and for the longevity of the installation.
Resealing intervals depend on the location. High-moisture or high-traffic zones may need attention every six to 12 months, while protected wall tile can last considerably longer. Instead of relying only on timing, repeat the water-drop test and respond to the condition of the grout.
When Sealer Will Not Solve the Problem
Sealer protects sound grout; it does not repair cracked, loose, missing, or deeply discolored joints. If grout is failing, remove and replace the damaged sections before sealing. In showers, persistent discoloration, soft grout, or recurring mold may point to a ventilation, drainage, or waterproofing issue that needs professional assessment.
For natural stone installations, choose every cleaner and sealer with the stone in mind. Marble, limestone, travertine, and terrazzo reward thoughtful material care, but they can be damaged by the wrong product. A small test area and product compatibility check protect the investment in a premium surface.
Well-sealed grout lets the tile design carry the room exactly as intended: clean lines, richer material detail, and a finish that feels considered long after installation day.